The subjects might be small, but Ellie Rothnie shows you how to produce big results, with her seven simple tips for macro photography
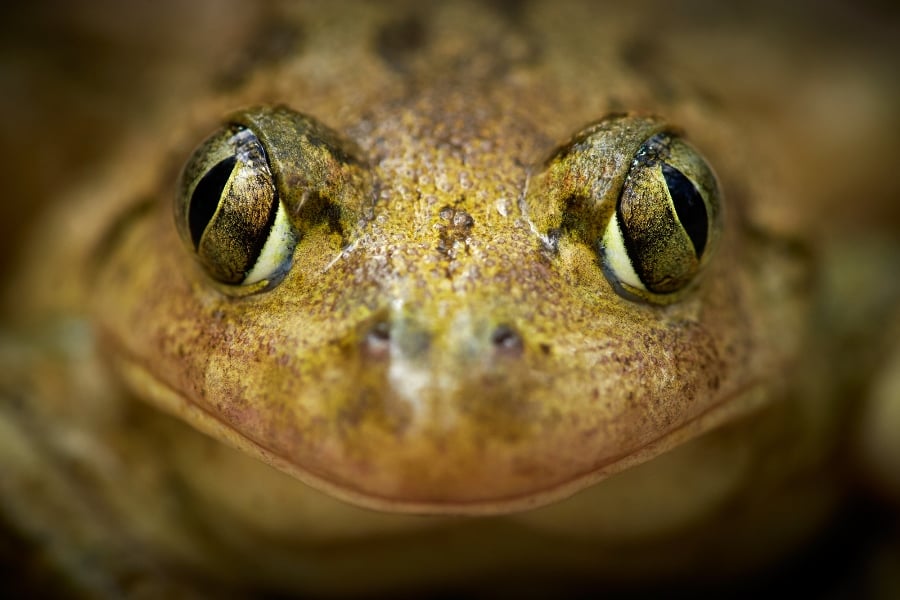
All images by Ellie Rothnie. Spadefoot toad (Pelobates fuscus): Canon EOS-1D X and Canon EF 180mm f/3.5L Macro USM lens. Settings: f/5.6, ISO 800, 1/100sec. Kit: shutter release cable, Gitzo tripod and Kirk ball head.
TL:DR: Don’t have time to read the article in full? Click here for a quick summary.
Macro photography is perfect for any time of year. There’s always something small in Nature that’s worthy of our attention, and these tiny creatures and plants can often be more accessible than other species, in our gardens and parks for example. Photographing smaller species can open up an unknown world to us, revealing details, colours and intricacies that are just not normally visible to the human eye. It’s very easy to become hooked on macro photography – once you’ve tried it, there’s no going back.
So, if you’re trying macro photography for the first time or if you’re just looking for some pointers, here are some useful areas to consider when approaching nature macro photography…
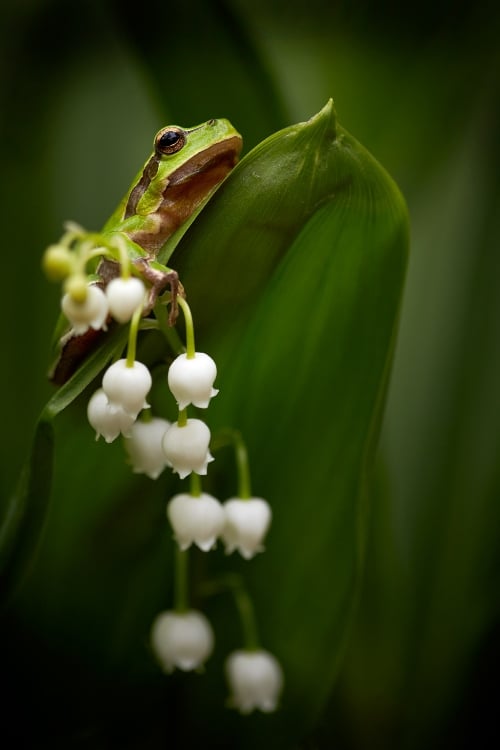
European tree frog (Hyla arborea): Canon EOS-1D X and Canon EF 180mm f/3.5L Macro USM lens. Settings: f/5, ISO 800, 1/200sec. Kit: reflector, shutter release cable, Gitzo tripod and Kirk ball head.
1. Use specialised lenses
Macro lenses are built specifically for close-up photography and allow you to focus much closer to your subject than other lenses. They are invaluable because they normally have refined optics, which really show up tiny details at close range. When I run my macro trips, most lenses are in the range of 100mm to 180mm, providing superb flexibility for focusing range, aperture and optics.
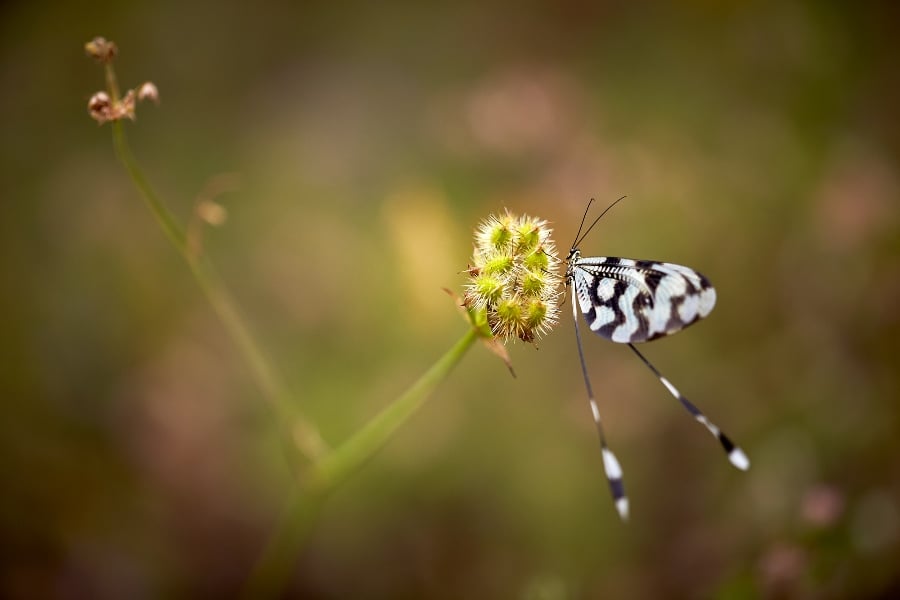
Canon EOS-1D X and Canon EF 180mm f/3.5L Macro USM lens. Settings: f/3.5, ISO 400, 1/800sec. Kit: shutter release cable, Gitzo tripod and Kirk ball head.
Don’t discount lenses that aren’t built for macro photography either. For example, wide-angle lenses can be superb for environmental images, where the subject is photographed in its natural habitat. And indeed, longer telephoto lenses – like a 100-400mm or 300mm – can work very well for environmental images too. The below image of an apollo butterfly (Parnassius apollo) was captured using a 300mm prime lens, creating a composition of the butterfly in its habitat with some lovely background blur.
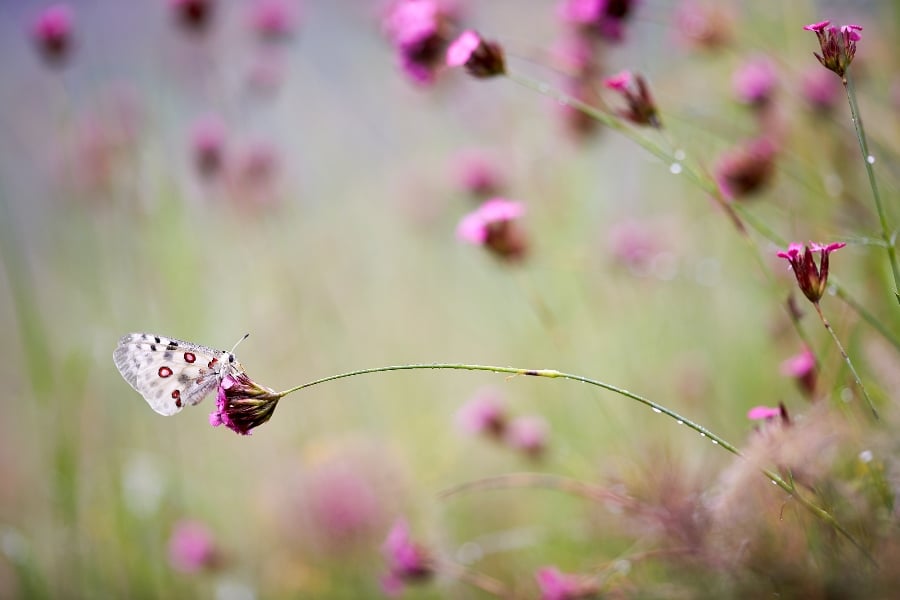
Apollo butterfly (Parnassius apollo): Canon EOS-1D X, Canon EF 300mm f/2.8L IS II USM lens. Settings: f/3.5, ISO 320, 1/1000sec. Kit: shutter release cable, Gitzo tripod and Kirk ball head.
2. Try manual focus
While specialised macro lenses have autofocus, manual focus is often the better way to go. Making very small adjustments with the focus ring makes significant changes to the point of focus. If your camera body has a rear LCD, use it when manually focusing. It really does help (especially when viewing at 100%) and gives you better control of precisely where you want to focus. It’s invaluable!
3. Keep it stable
A sturdy tripod is essential for macro photography. A good head like a ball or pan/tilt head, which supports the camera body and lens securely, allows for small, flexible adjustments when focusing on a subject and composing your image. My preference is a Gitzo tripod with a Kirk ball head. I will often lower the tripod to ground level in order to photograph at the same level as my subject. I always use a cable release too – it just makes everything easier and prevents any potential camera shake when taking the shot.
4. Make the most of the natural light
A lot of my macro photography takes place out in the field, so I’m always aiming to make the best use of natural light. Overcast days with flat light offer some of the best lighting conditions, because clouds act like a softbox and diffuse the light. Small reflectors are ideal when working with natural light, they are always in my kit bag. With subtle positioning, they can uplift and balance the light, melting away contrasting shadows and completely transforming the image.
Likewise, if you are photographing on a clear day, catching the first and last light can work a treat, and natural backlighting is always something I look for in these situations. In fact backlighting is one of my favourite techniques, if the weather conditions are right. The below image of an alien-looking conehead mantis (Empusa pennata) was taken in the late afternoon in a Bulgarian wood. Using natural sunlight filtered by the trees, the mantis casts an unearthly shadow on the leaf. By underexposing the image a little, I darkened the background and added contrast to the insect’s shadow.
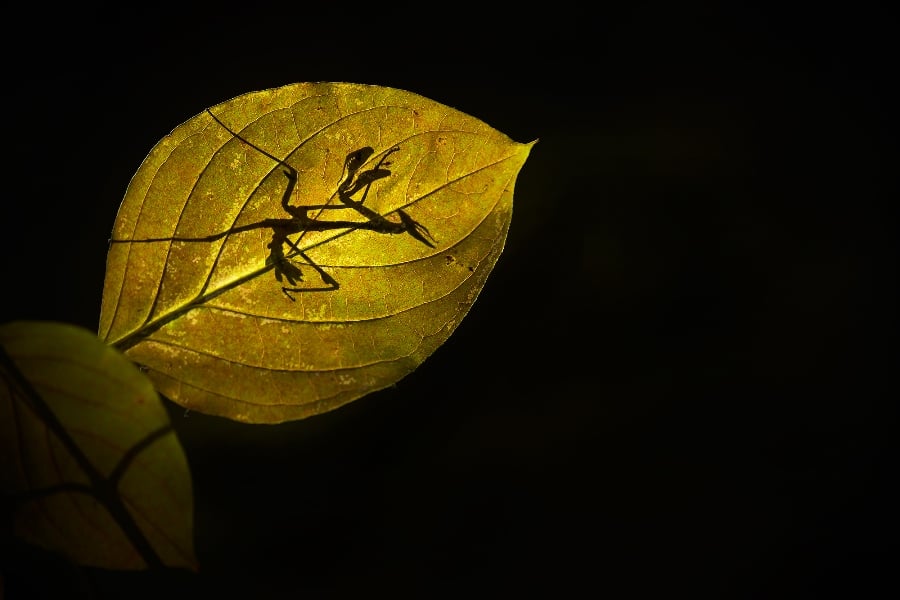
Conehead mantis (Empusa pennata): Canon EOS-1D X, Canon EF 100-400mm f/4.5-5.6L IS II USM lens. Settings: f/5.6, ISO 320, 1/640sec. Kit: Gitzo tripod and Kirk ball head.
5. Experiment with different depths of field
We are always taught to use smaller apertures for macro photography, normally in the range of f/11 to f/16. This is absolutely correct. But, have you ever experimented with wide apertures too? With a shallow depth of field, not only are foregrounds and backgrounds blurred but a large proportion of the subject is too. By manually focusing on an eye, for example at f/2.8 or f/4.5, the feature really pops out of the image, as it does with this beautiful Aesculapian snake (Zamenis longissimus).
More often than not, I’m working with a shallow depth of field for macro photography, using manual focus to carefully select the point of focus. It’s a case of knowing the rules and then breaking them.
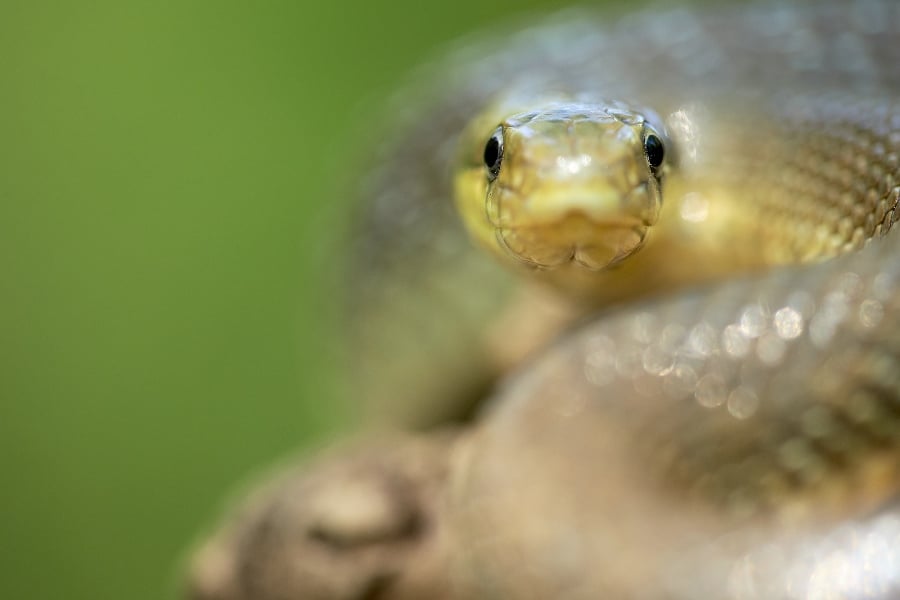
Aesculapian snake (Zamenis longissimus): Canon EOS-1D X and Canon EF 180mm f/3.5L Macro USM lens. Settings: f/5.5, ISO 500, 1/400sec. Kit: shutter release cable, Gitzo tripod and Kirk ball head.
6. Try out using multiple exposures
Most cameras now have the ability to blend multiple exposures in camera, and this is a technique I find works very well for macro subjects like flowers. The image of an early purple orchid was taken using two exposures and manual focus. For my first shot, the orchid was in focus, I then turned the focus ring for a second, out-of-focus shot. This approach creates an ethereal glow – who would have thought woodland near my home could look so magical?
Multiple exposures are a great way of experimenting. You may find that some results are far from perfect, however, I would encourage you to keep practising. Experiment with focus points and depths of field for example; I guarantee you’ll achieve results that will surprise you.
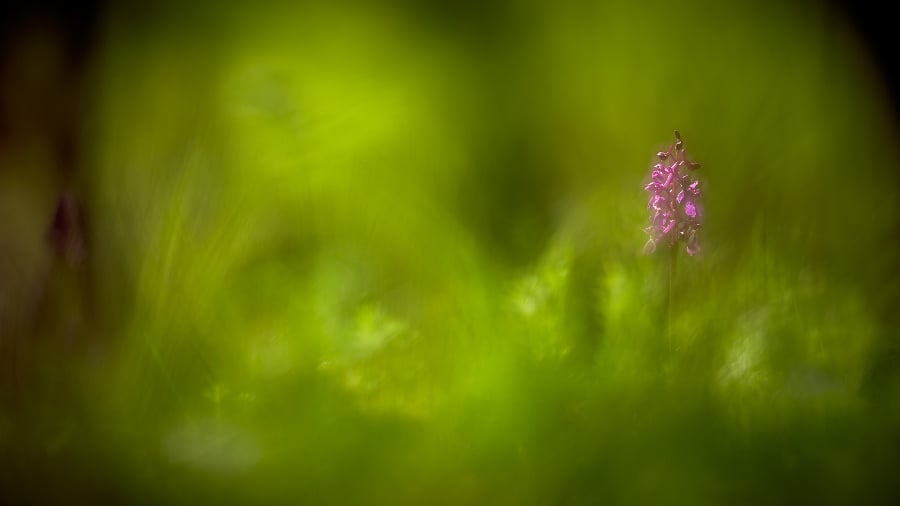
Early purple orchid (Orchis mascula): Canon EOS-1D X, Canon EF 300mm f/2.8L IS II USM lens. Settings: f/2.8. Kit: shutter release cable, Gitzo tripod and Kirk ball head.
7. Respect the smaller creatures
As with any form of wildlife photography, it’s just as important to respect the welfare and safety of these smaller creatures and plants, whether they’re reptiles, amphibians, butterflies, insects or flowers. I’m not an advocate of ‘chilling’ subjects to make them more docile. Instead, it’s far better to photograph very early in the morning, when the temperatures are naturally cooler. The natural light will be softer and the creatures will still be sleepy, at their roosting/resting spots.
With certain reptiles and amphibians, I always work with a respected scientific specialist too, because he has permission to handle these species. The welfare of small creatures should always be of paramount importance and as photographers we must always bear this in mind.
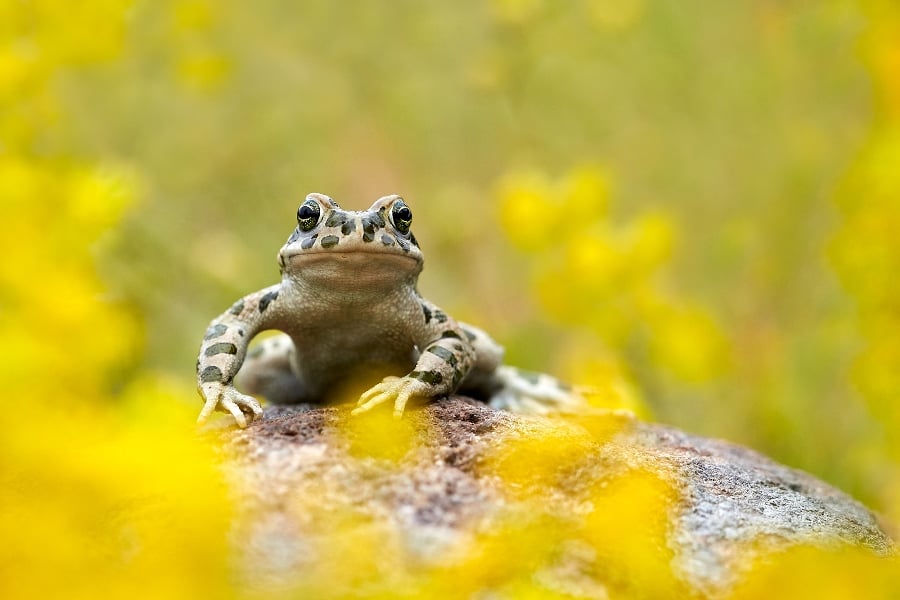
European green toad (Bufo viridis): Canon EOS-1D X and Canon EF 180mm f/3.5L Macro USM lens. Settings: f/4.5, ISO 1000, 1/400sec. Kit: shutter release cable, Gitzo tripod and Kirk ball head.
If you are new to nature macro photography, it might appear a little daunting, what with the specialist equipment required and the technical rules that surround this area of expertise. However, while the rules are helpful to get you started, don’t feel constrained by them. Use macro lenses, but do experiment with the other optics you already have in your kit bag. Finally, explore your creativity with differing camera settings and compositions.
The results will surprise you.
Too long; didn’t read…
Tips for nature macro photography…
- Invest in a specialised macro lens, and don’t discount wide-angle and telephoto lenses for different styles of image.
- Manually focus on the subject, and use your camera’s rear LCD, if it has one.
- Whenever possible use a sturdy tripod with a pan/tilt or ball head, depending on your preference.
- When photographing in the field, make the best use of natural light and look for nice opportunities like backlighting.
- Experiment with shallow depths of field, focus points and techniques like multiple exposures. It’s great fun and really helps you to explore your creativity.
- Always, always, always respect the welfare and safety of your subjects, whether they’re smaller creatures or plants.
- Know the technical rules of macro photography and have fun breaking them!
About the Author
Ellie Rothnie is an award-winning freelance wildlife photographer, tour leader and photographic guide based in the UK. Visit her Instagram, Twitter and website to see more of Ellie’s work.
Related articles
Focusing on One Species | Improve Your Wildlife Photography
Negative Space in Wildlife Photography | How to Create Dramatic Images
Photograph wildlife on your doorstep | The local patch and why you need one
